Microsoft Outlook Email Connection
New data integration content available
You're currently viewing a data integration topic that has been replaced and will eventually be removed from our documentation.
For the latest data integration content, see: Data Integration.
Important
Any references to third-party products or services do not constitute Celonis Product Documentation nor do they create any contractual obligations. This material is for informational purposes only and is subject to change without notice.
Celonis does not warrant the availability, accuracy, reliability, completeness, or usefulness of any information regarding the subject of third-party services or systems.
Limited Availability
This extractor is currently in limited availability mode and can be added to your Celonis Platform environment by request only.
To request access to this extractor, please create a support ticket on Celopeers.
The Outlook Extractor is based on the Microsoft Graph API which requires an Azure cloud infrastructure.
It is specifically designed to extract email information from Microsoft Outlook and to push them to the Celonis Platform. The Outlook Extractor is a Python extractor implemented in the ML App. Additionally, the Extractor is currently in alpha. If you'd like to receive the Extractor's Python script, reach out to Celonis support.
Steps to set up an Outlook connection
Step 1: Application Setup in Microsoft Azure
The first step is to set up a new application within the Azure Portal.
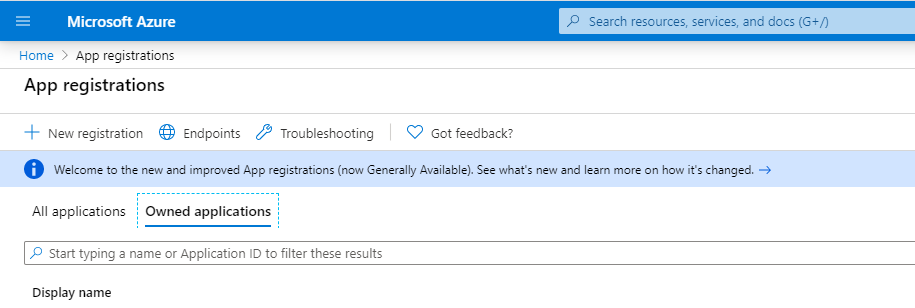
1. Sign in to your Azure Portal and go to App Registrations . On the top left, you click New registrations.
 |
2. On the registration page, specify the following:
Name (e.g. msgraph-app)
Supported account types = <choose the fitting value> (e.g. Accounts in any organizational directory (Any Azure AD directory - Multitenant))
Redirect URI (e.g. https://localhost:8080)
3. Click Register. You are directed to the application Overview page. Save your Application (client) IDand Directory (tenant) ID since you need them for the authorization setup of the python extractor. You can always come back to this page.
4. Go to Certificates & secrets and click New client secret.
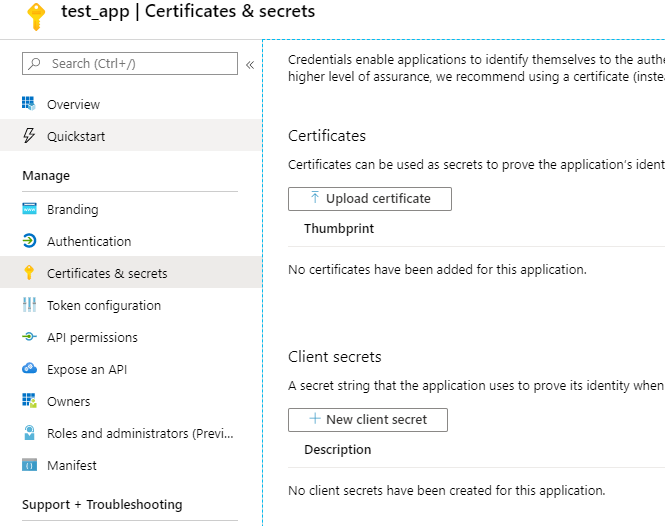 |
5. Choose a suitable description (e.g. Secret1), a suitable timeframe (e.g. in 1 year), and click Add. You can then see your newly created client secret. Make sure to copy the value and store it somewhere safe. Since this value is equivalent to a password and you only see the value this one time.
Step 2: Extractor Setup in the Celonis Platform
1. Click API Permissions > Add a Permission > Microsoft Graph > Application Permissions.
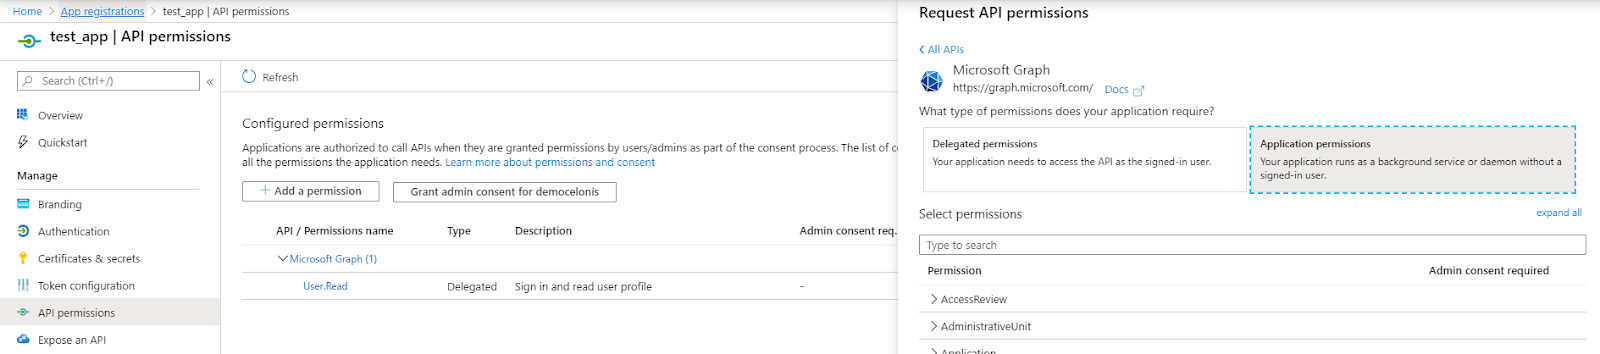 |
2. Search and select the following permissions:
Mail.ReadBasic.All,
Mail.Read,
Mail.ReadWrite
3. Press Add permissions and Grand admin consent for <your_environment>.
 |
4. Now you can go to the Celonis Platform and select the extractor script in your Machine Learning App.
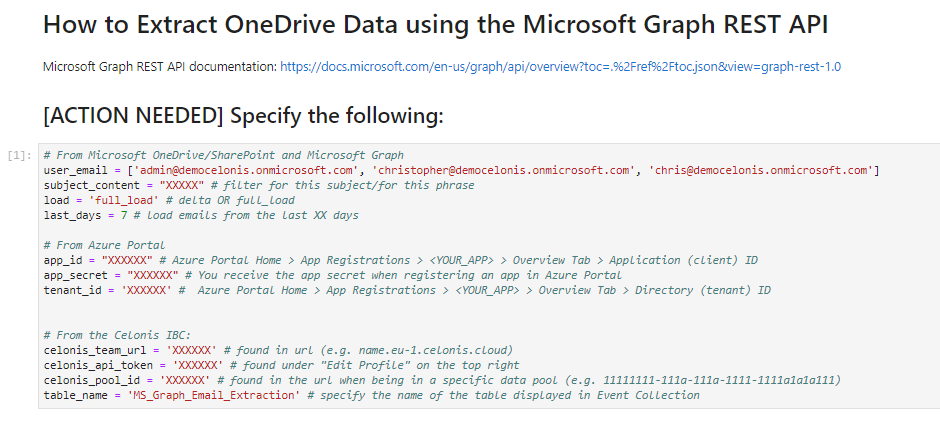 |
5. We are only interested in this field above. Here you need to specify the following:
user_email: enter the email address with the correct spelling of the inboxes you would like to extract. Note: enter it in the following format ['example@celonis.com'] or ['example@celonis.com', 'example2@celonis.com'], etc.
subject_content: filter for this specific phrase within a subject
load: either delta or full_load. For the first extraction, a full load is recommended to load all the data. Afterwards, one should switch this to delta load to only load the differences.
last_days: enter the number of past days for which the extractor should load the data. E.g. specifying 7 tells the extractor to only load the data from the last 7 days. Note: don't use parenthesis here
app_id: enter your application (client) id
app_secret: enter your application secret
tenant_id: enter your tenant id
celonis_team_url: your team URL can be found in URL of your Celonis environment (e.g.name.eu-1.celonis.cloud)
celonis_api_token: when you logged into your Celonis account on the Celonis Platform, click on your profile on the top right corner and then onEdit Profile. (See image below)
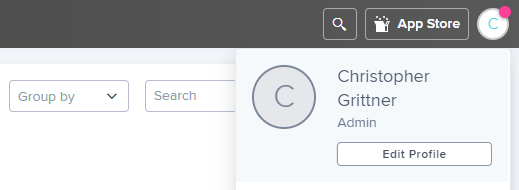 |
Scroll down to the API-Keys section, enter a name for your API key (e.g. MS Graph API Key), and click Create API Key.
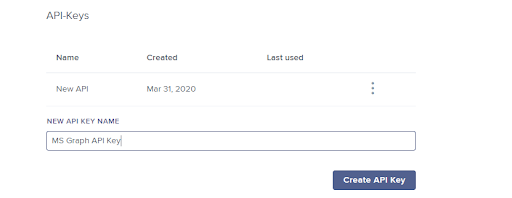 |
A pop-up appears which displays the API key you need to enter into the celonis_api_token field in the extractor script.
celonis_pool_id: you can find the Celonis pool id when you click on the Data Integration tab on the top. Now, select (or create) the data pool to which you want to push the spreadsheet data. Your URL should look like <ENVIRONMENT>.eu-1.celonis.cloud/integration/ui/pools/11111111-aaa1-111a-aa1a-11111a1a1111/overview. The relevant part for this field is right behind ...pools/ and before .../overview.
table_name: here you can choose how the table with the extracted data should be called in Data Integration in the Celonis Platform
6. Now you can set up the scheduling for the ML App and the Data Model.